Mineral Hardness Test Experiments
Tied it with Apologia General Science Module 6 & 7 Rocks & Minerals Sections
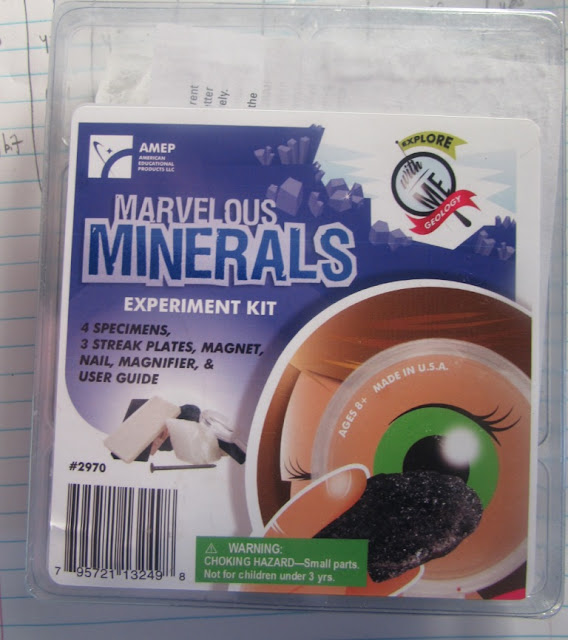
We had bought some sets of rocks/minerals from Rainbow Resource for our Geology studies, but I never did get the hardness kit and couldn't figure out EXACTLY what I was suppose to do for a rock hardness test!!! I know silly, to those who already know how and what you're to do! While in the Homeschool Building's Resource store this week, I spotted the test/kit that I posted at the top of this page. It was $10.95 and I couldn't resist since we are in the middle of Geology right now, and I've always wanted it. I'd like to share with you how easy it is! and save you the ten dollars!!
Our kit contained:
Hematite--shiny black rock
Quartz rock
small magnet
one nail
Calcite--white/clear rock
Gypsum-white/clear rock
Black Streak Plate
Glass Plate
small, tiny magnifier
We added in one Penny ourselves!
I took out a piece of paper (see picture above) and wrote out the rocks/minerals we had to test and the things we needed to test those rocks/minerals with.
We took the Calcite first, and tested it across the board:
First--tested it with the magnet, then glass plate, then penny, then used the nail to scratch it, then our fingernail, then on our black streaking plate, then lastly the white streaking plate. After each item we wrote down 'yes' if it scratched the rock or "no" if it didn't. It really was easy and interesting.
I would have liked to have more of a reaction with the magnet, but it did have a bit of a reaction with the Hematite. It didn't take too long to do, and I'm glad I finally, finally did this simple experiment that had been on my 'To Do" for so long!
.........................


No comments:
Post a Comment
Note: Only a member of this blog may post a comment.