Apologia General Science: Module Six:
Experiments 6.3
 |
| Experiment 6.3: Physical Weathering: The Power of Plants |
This experiment did NOT work. We should have placed the seeds down much deeper, much deeper. All our roots stayed above the plaster and did not break it up at all!!! You will see as you scroll down and see our seeds after a month. Make sure YOU place your seeds deeper than we did.
 |
| We used the Star Wars Figure's plastic container instead of the plastic bowl the kit provided. I thought it would neat to see the roots growing. We needed plastic of paris, four lima beans, water, paper towels, and a spoon. |
 |
| Dd measured out the plastic of paris, and then we added a little extra of that and the water to accommodate the bigger tub we are using. |
 |
| Adding in the water |
 |
Dd put in the four lima beans, then we let it dry for an hour, and then placed a wet paper towel (actually two) on top of the plaster and seeds, to keep them moist. Now we are waiting for the lima beans to grow. I'll post a new picture when we get some results to show. The roots will grow through the plaster and break up the plaster into many small pieces. This is showing us the difference between Chemical Weathering and Physical Weathering. This specific experiment is an example of Physical Weathering. The lima roots will break apart the plaster, but not change the composition of the material like a Chemical Weathering would.
UPDATE: Two days later:
 |
| I've been keeping the paper towels moist every day. |
 |
The seeds have expanded! They have broken out of the little divots they were put in when the plaster was wet. The root has come out and it very short, but growing.
 |
After one week
One Month Later: |
 |
| This experiment did NOT work. We should have placed the seeds down much deeper, much deeper. All our roots stayed above the plaster and did not break it up at all!!! |
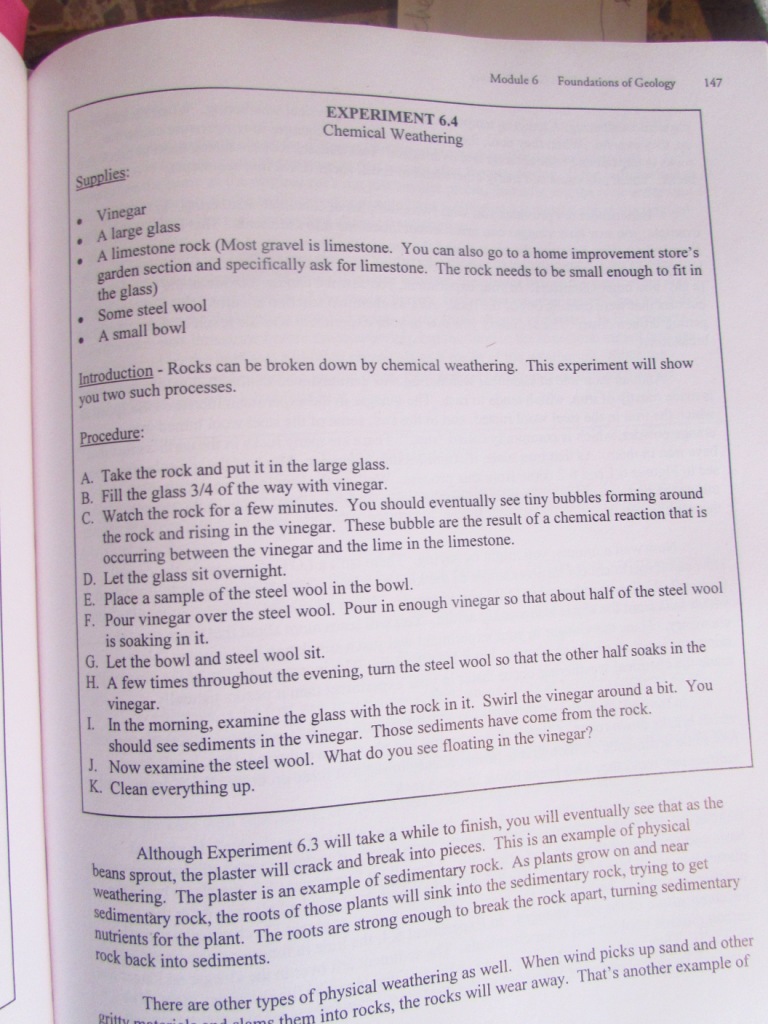
Experiment 6.4: Chemical Weathering "A"
 |
| Vinegar, limestone, a bowl, steel wool and time |
 |
| Put a limestone rock in a jar, add vinegar to cover over the rock. Our kit wanted us to use a bowl, but I liked this jar better. You can immediately see the bubbles raising up from the rock. |
 |
The Point:
Can you see the flow of bubbles rising up? The bubbles are the LIME leaving the rock! This is a chemical weathering example, b/c the vinegar is changing the composition of the rock. In the end this rock will not be a limestone anymore! |
UPDATE: Two days later:
We can really see the chemical reaction visibly on this experiment. The vinegar is really eating at the lime in the limestone. Good experiment.
 |
| I bought these rock kits from Rainbow Resource, and they are great for this module! |
......................


Very cool! I like reading about the experiments.
ReplyDelete